Slide Background
Kristina Radovic
Kristina Radovic
Rinus Bos, Lead Engineer Aviation Glass & Technology
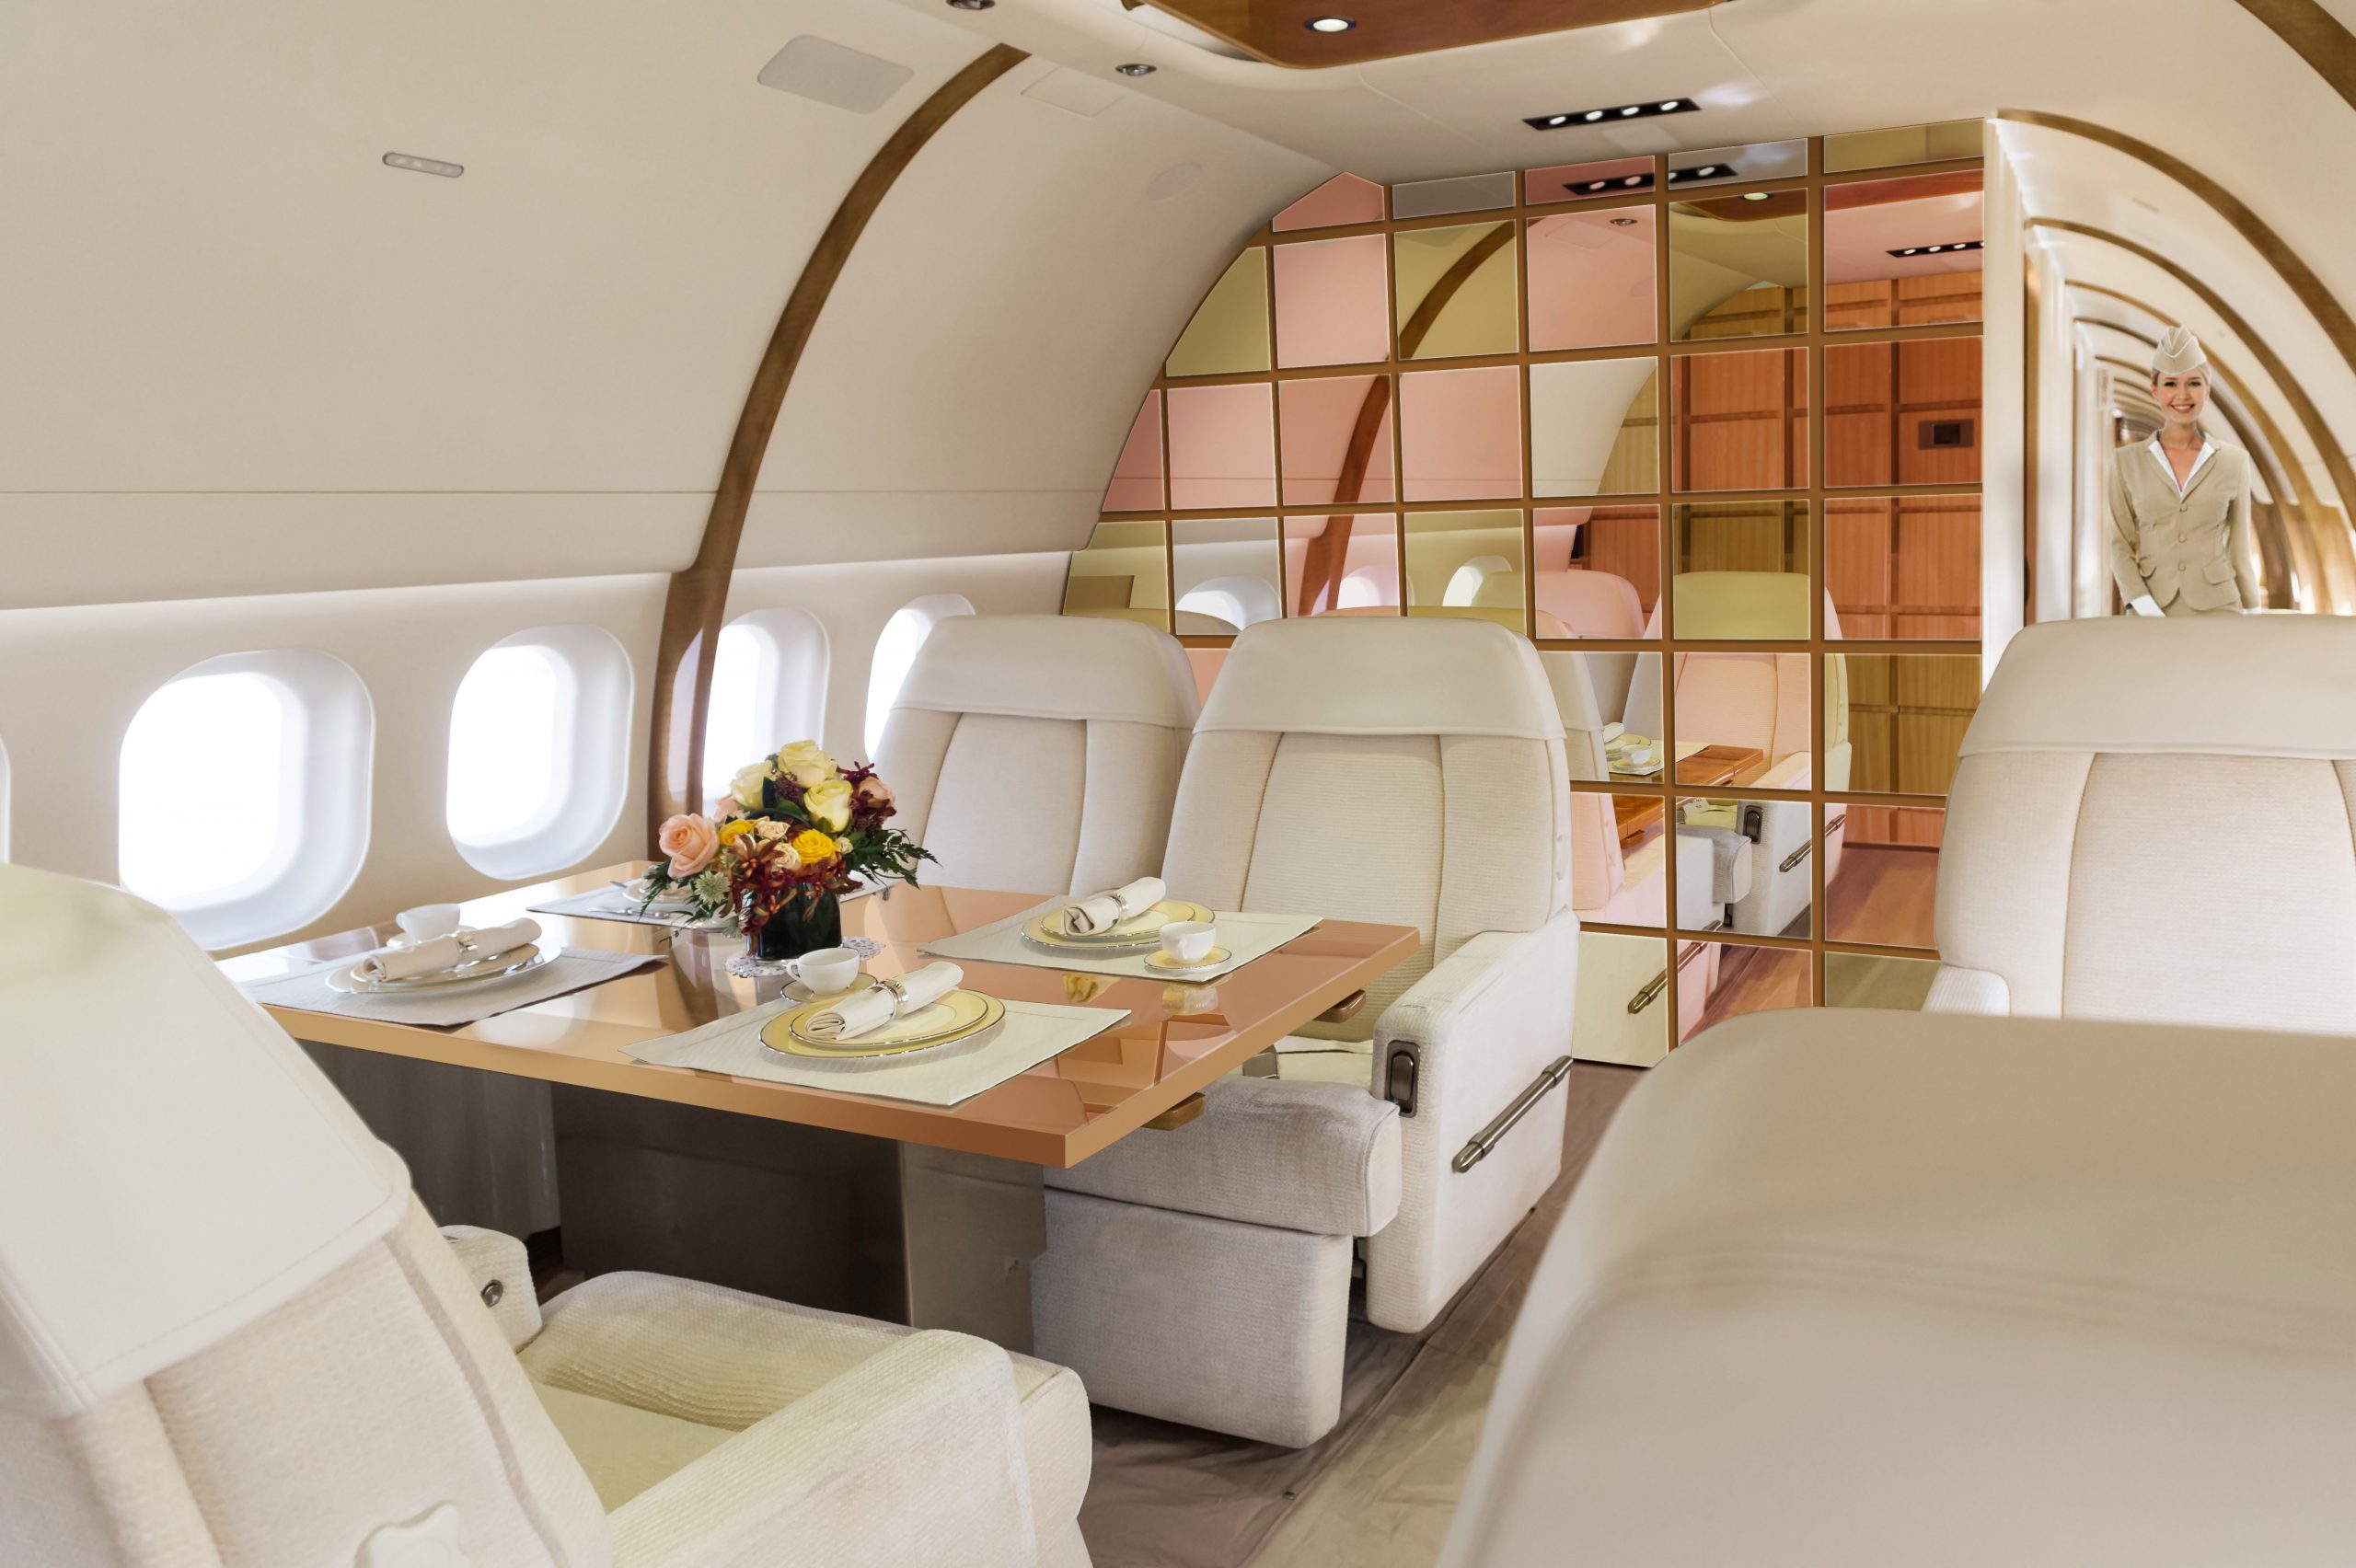
“For airplane mirrors we absolutely need to have a flawless image."
Rinus Bos, Lead Engineer at Aviation Glass & Technology, is responsible for the development of Ultra Thin Glass products and applications. “For mirrors on an airplane, optical quality, scratch resistance, reduced product weight, space improvements and superior damage resistance are a must. That is why we let Coenradie Metrology do our product inspections. With their expertise and equipment we get a flawless picture of our product specifications. This way we can guarantee our customers the highest quality. ”
Shadow
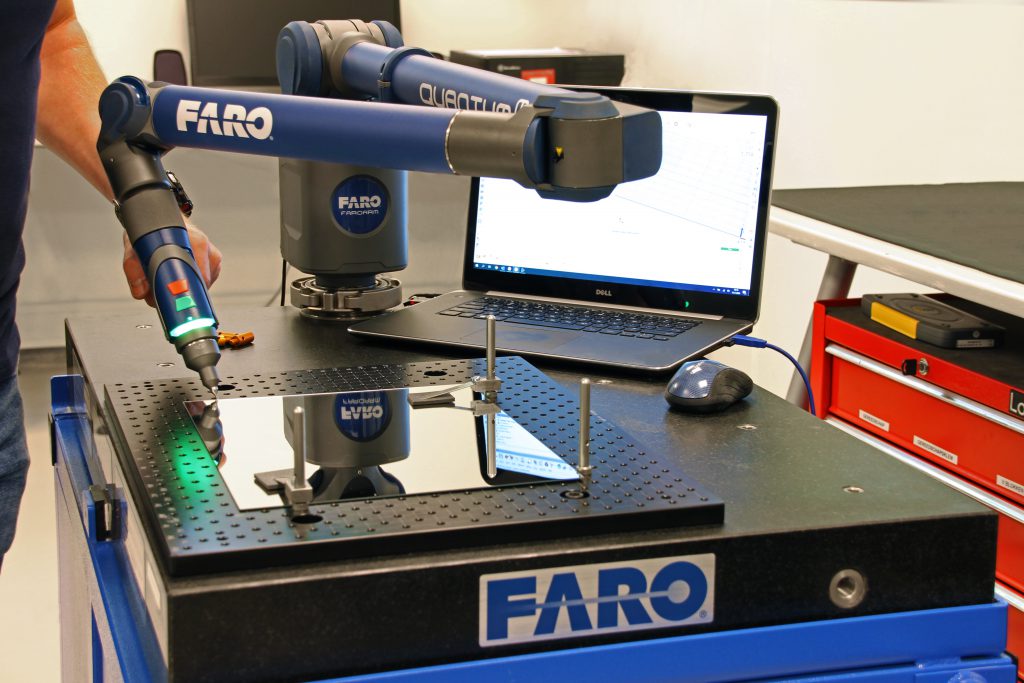
Aviation Glass mirrors measurement with ScanArm

Coenradie tests the highest quality mirrors with a unique 8-axis 3D ScanArm

The product inspection takes place in our measuring room in Oirschot, the Netherlands. It is equipped with all the necessary tools for stable clamping of the products. Because the mirrors are very thin, we created a special probe configuration that is geared towards this. Naturally, we handle the mirrors very carefully, so that they are guaranteed to be returned without damage. By cleverly combining the software packages Siemens NX and PolyWorks, a measuring program is created in which the measuring points are defined on the contour of the mirror. This guarantees 100% repeatability. With this working method, a trend in contour deviation (profile purity) for series of products quickly becomes clear. The measurement results are compared with the specifications on the product drawing. This result is recorded in a clear report for our client.

Core advantages of our 3D measurements

Measure according to standards – In addition to measuring general drawing
tolerances, we are also able to measure place and shape tolerances (GD&T).

Innovative – In addition to the standard measuring equipment, we use in-house developed tools and aids. This gives us a measurement solution for both simple and complex products.

Outside existing frameworks – By making smart use of multiple software packages, we achieve the best results.

Meticulous – The products are treated with the utmost care by us.

Thinking along – At Coenradie Metrology, customer focus is very important. That is why we like to think along with you to achieve an optimal result.

Ruud Steijvers Coenradie MetrologyGet in touch with us, call +31 (0)499 – 577 202 and ask for Ruud Steijvers